
I love the 4th of July! Usually we are at my parents house celebrating with fireworks in the backyard (you can still do that where they live). But, this year with gas prices so high, we decided to stay home. Bummer!
However, there are still lots of fun things to do around here. We are looking forward to our communities bike decorating contest, parade, and picnic which we have never been here to participate in.
I thought that today I would do a patriotic craft with the kids. Get them talking about the 4th of July and what it means that we celebrate it. So we ended up doing a paper project (easy for my 3 year old) that had to do with our nation's flag and involved a lot of paper tearing and glue sticks (all his favorites).
The end result is a decoupage looking flag. Ours actually ended up looking more camouflage than decoupage. But, hey, I've got three boys. Whatta ya expect?
Now you can do this as small and easy, using just an 8 1/2 by 11 piece of paper. We made ours bigger and then mounted it to a canvas that would hang on our wall (about 30" by 24").

whatever size paper you want your finished flag to be
lots of red, white, and blue scrap paper for tearing
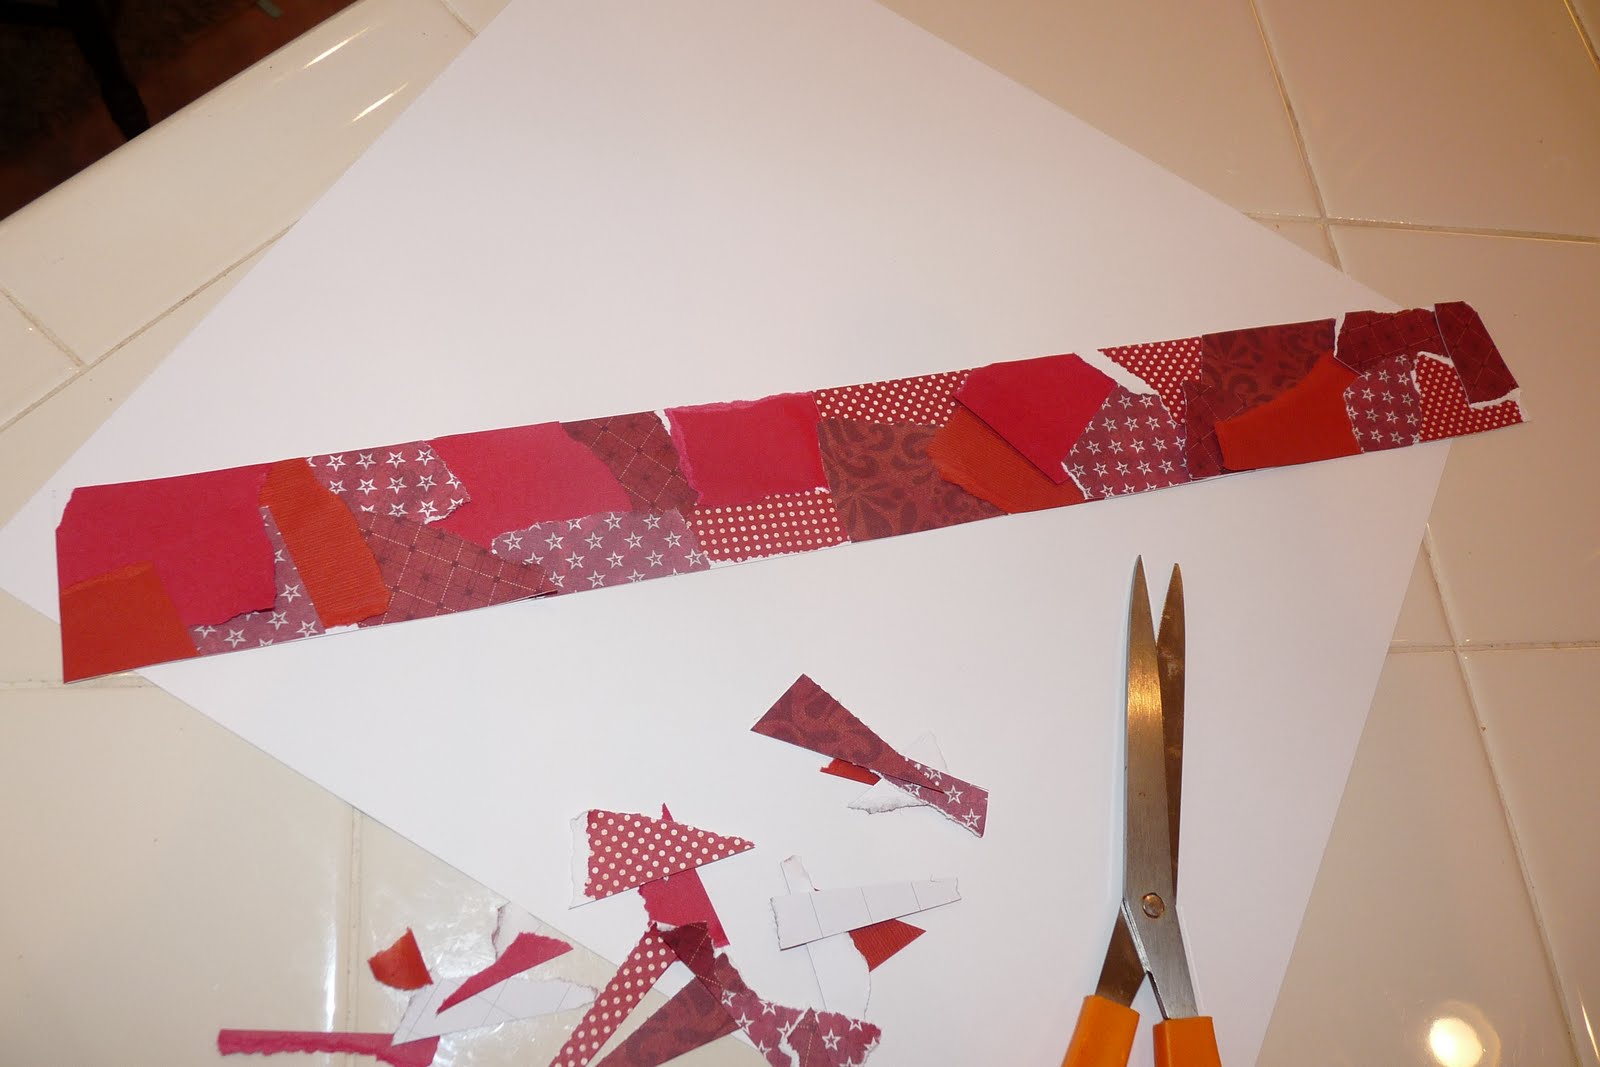
scissors
ruler
pencil
glue sticks
Using a ruler and pencil, draw out the stripes on your paper (7 red, 6 white) and blue corner square.

Then, let the kids go at it. I gave each of my kids a color and they tore up the scrap paper and starting gluing. This is great for them because it doesn't have to be perfect. You are going to trim it all down later, so let them be creative.


This part may take a while, depending on the size of your flag, so patience is key here. Trust me! I think my kids pooped out at about 3 stripes each, and then it became more of Momma's project. But they got the idea, right?
Once a stripe is done, turn it over and use your scissors to trim the excess scrap paper that is hanging over the sides.


Hope you all have a fabulous holiday celebrating our country! Happy Friday!
1 comment:
What a fun idea - that turns out so great! I'll have to steal this one for next year too.
Post a Comment